
Again, one day I will more fully describe our full plans and ideas for our yard transformation, but there is still so much to be done. With the threat of frost now gone, most plants have been transplanted to their permanent homes for the summer. We have also been in a mad rush to finish the garden and yard infrastructure. This has included installing 150 feet of fencing around the back yard, laying a foundation for an 8'x16' greenhouse, staking out a 10'x20' area for a back patio, making repairs to the existing greenhouse, setting up the pallets and temporary greenhouses, filling smart pots and beds with soil, and creating two brand new lasagna garden beds. The only one of these projects that has been finished so far is the garden beds, and these are what I would like to talk about in this post.
Sheet Mulching / Lasagna Gardening
The soil in our yard is the typical Alaskan variety - gravely and heavy with clay. Not exactly the best stuff to dig, till, or grow in. After a little exploratory poking, I also found out that our yard is topped by a thick layer of well-rooted sod in most places, and it is a real pain to tear up. That's why I make my wife do it....... as my back can't handle it!
One day while catching up on the goings on at the Williams Street Farmhouse in Anchorage, I read about their experiences with Sheet Mulch, or Lasagna Gardening. I was intrigued. Here was a method of gardening where I wouldn't have to do any digging or tilling of the soil, activities that can be very rough on someone with the severe back and hip problems that I have. Instead, all I had to do with gather together a few common and easily obtained materials, pile them up in alternating layers in a staked out plot, add plants, water, and watch the garden grow!
The idea behind Sheet Mulch / Lasagna Gardening is fairly simple. It basically involves building a plantable compost pile directly in your garden bed. They can be built virtually anywhere, including on tarps on top of concrete if necessary! If constructed in the late summer or early fall, the bed can be left to sit over the fall and winter, and will be ready for planting the next spring. However, if you're like me and need to use the bed immediately, a top layer of compost and clean topsoil (or potting soil) can be added for planting seeds and seedlings. For bigger transplants, just dig down in to the straw layer, add some soil, and add the transplant.
Click here for a great comprehensive article discussing Lasagna Gardening from Mother Earth News. It covers everything one needs to know to get started. Below, I will discuss the method I used to create our garden beds.
What I used:
Clean cardboard and paper from our move to Alaska from Germany (we had a lot!). You don't want to use paper products that have been waxed or colored or treated with any chemicals. Make sure to remove all tape and plastic before placing in the garden! Newspaper is okay and is used by many people. This layer helps curb weed growth in the bed and also attracts worms and other bugs to your beds. This is a very important layer!
Local Timothy Hay. We bought a 700 lb roll for 50 bucks and picked up a few more rectangular 50 lb bales for 8 bucks each. Many people say don't use hay, but just as many say don't worry about it and say hay is okay (hay has seeds that may sprout and need to be plucked - but only once). Using straw for a large bed would be very cost prohibitive up here in Alaska anyway. Yard waste, such as leaves and grass clippings, can also be used here as a 'brown layer'.
Compost. Having only been in the house since March, we haven't had much time to produce any good compost on our own. I was able to use one large Rubbermaid tote full of mostly decomposed food waste and shredded paper on one bed, but had to purchase organic store bought compost for the other. We do have two other batches cooking (and more on the way), and these will be added to the beds throughout the summer.
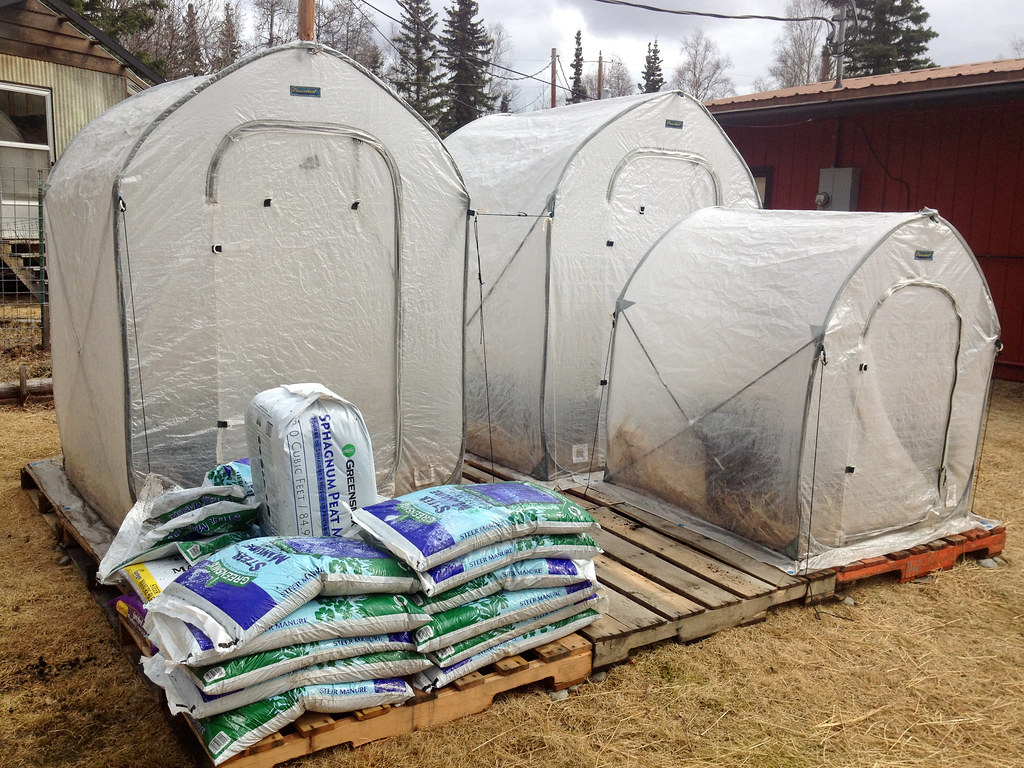
Composted Manure. I used both store-bought steer and chicken manure, but mostly steer. This was spread thin in a few layers and mixed in with some topsoil on the top layer.
Moose Poop. There were plenty of piles under the snow in the yard - might as well put it to use! This was added in with the lower layer of compost, on top of the paper and cardboard layer.
Water. Lots of water. This will get the bed on the way and cooking.
 |
| late season (mid-May) snow storm. Lost a few plants in the temporary greenhouses during this. |

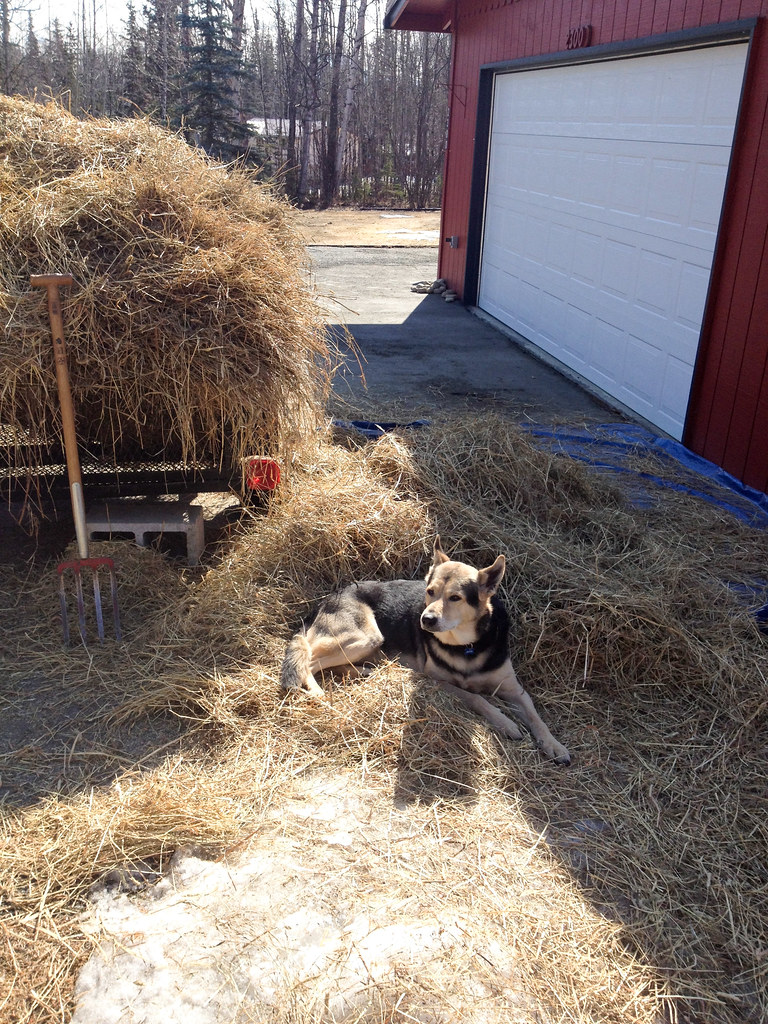
Somehow, we fit a 700lb roll of hay in this small trailer and got it home. Osu enjoyed rolling in the hay
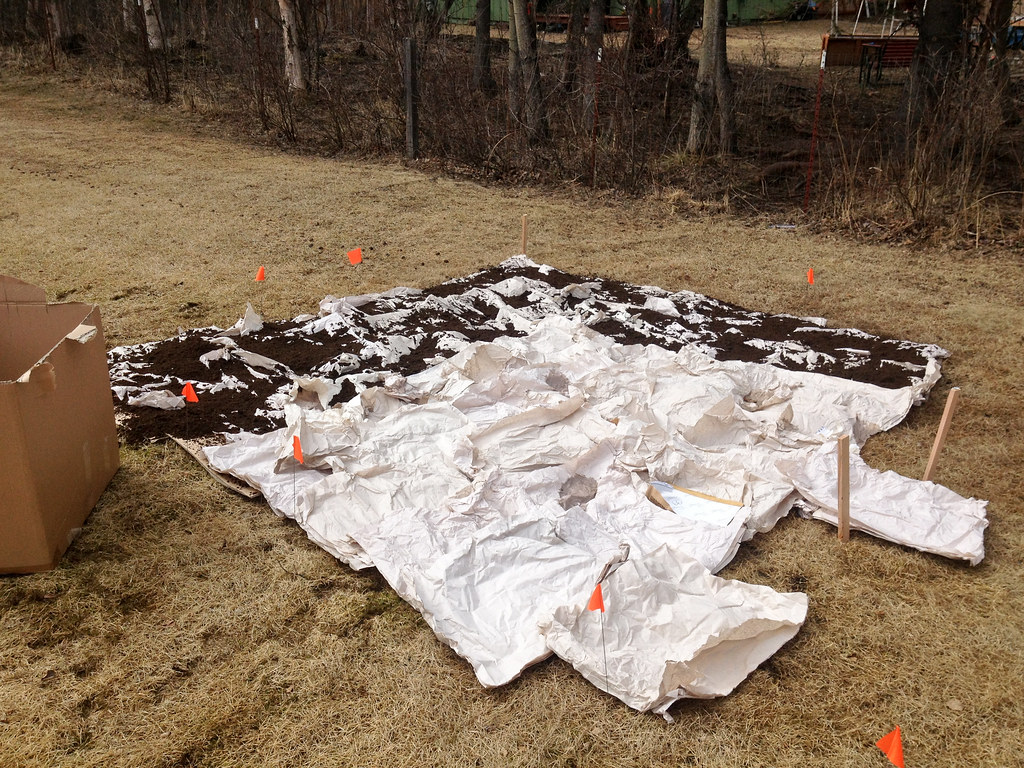 |
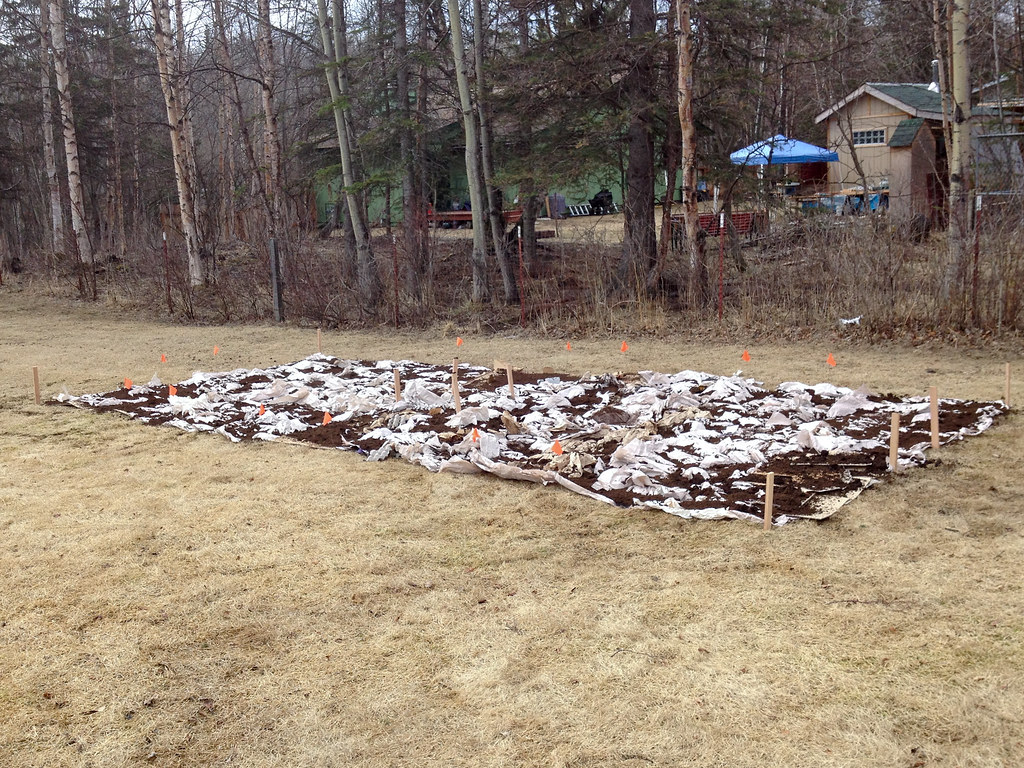
| The first layer - paper and cardboard put down directly on the damp grass/sod. This is held down by a thin layer of organic compost. Eventually, the bed will break down (compost) and incorporate the underlying sod and soil into the bed. No digging or tilling needed! I staked my beds out to be 4'x4' with 2' wide paths between each bed, incorporating some of the principles of the Square Foot Gardening method of garden layout. After this layer was put down, it was watered to ensure the paper and cardboard were saturated and stayed put. |
 |
| Organic Compost used in the lasagna garden beds |
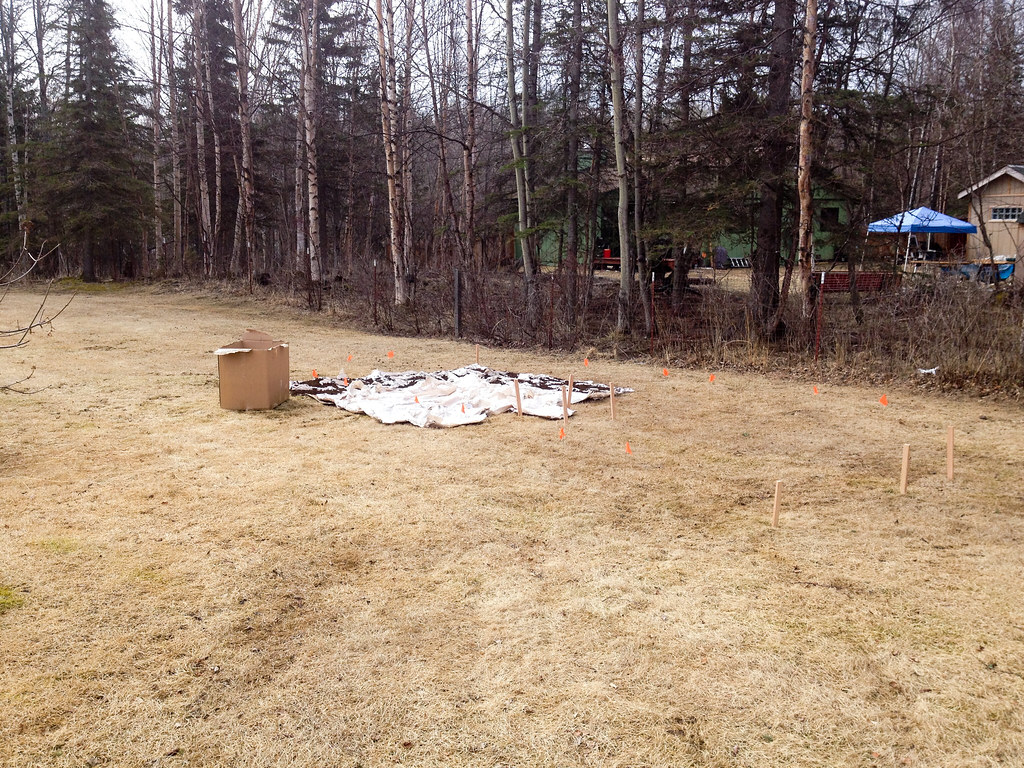 |
| Full View of the staked out squash garden beds. The bed has a dimension of 22' x 10', containing 8 4' x 4' beds. |
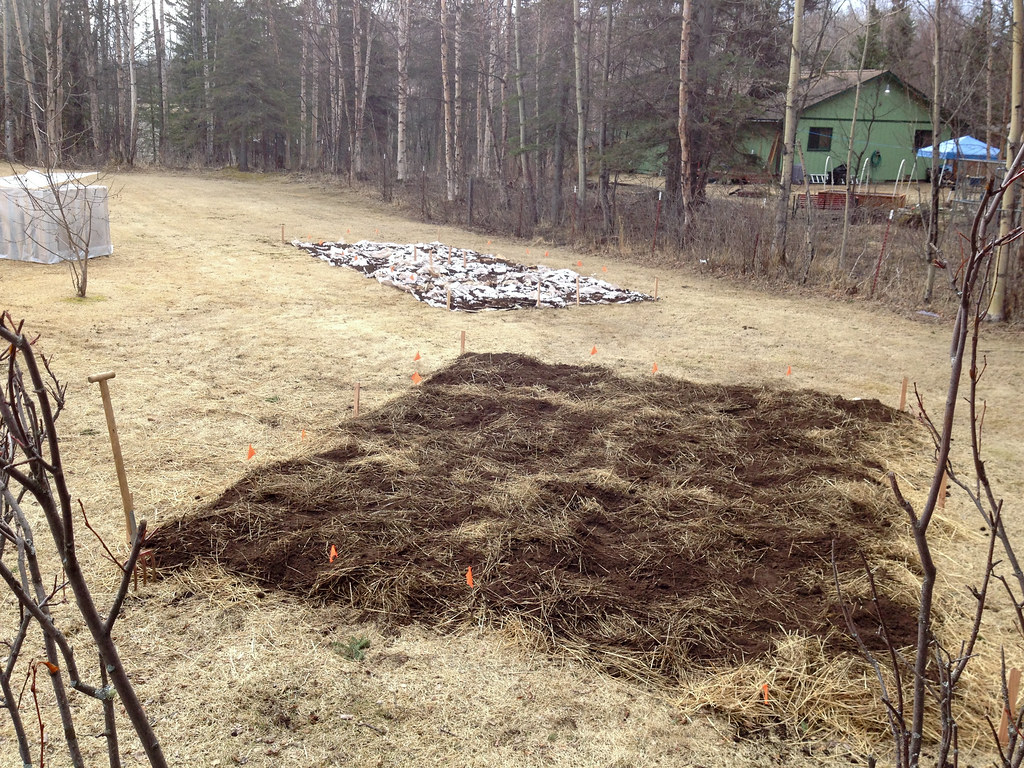 |
| The near bed (16' x 10') will be used for kale, chard, and cabbage. The far bed will be used for three varieties of squash, along with broccoli and cauliflower. The near bed is about halfway done while the far bed has just had the last of the paper and thin layer of compost added. |
 |
| Application of paper, cardboard and a thin layer of compost is finished |
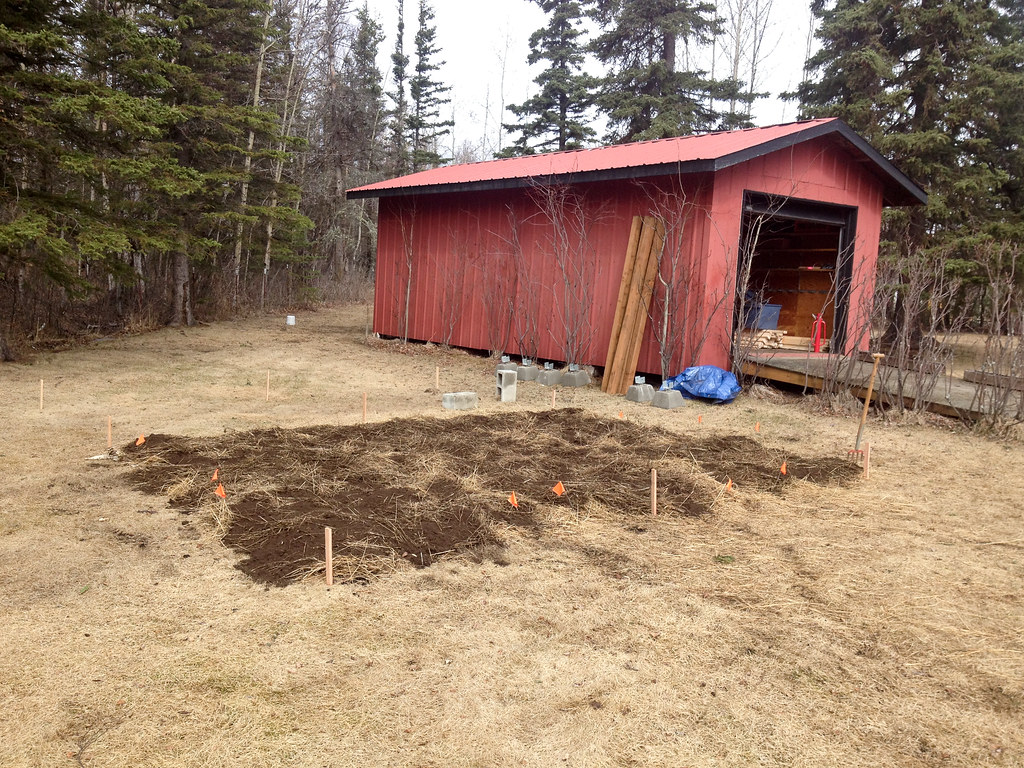 |
| A 16' x 8' greenhouse will be built behind this bed. |
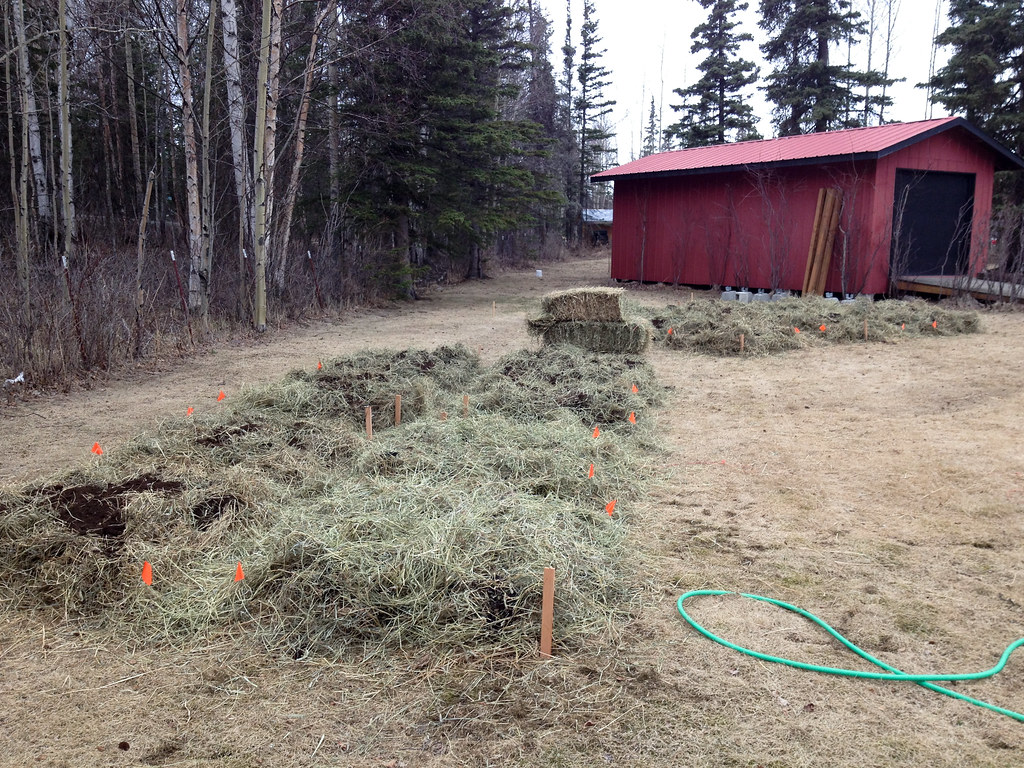 |
| both beds are nearing completion. This was the last layer added before the weather turned back to winter for a few days! After that snow melted, another layer of dirt/compost was added, a bit more hay/leaves, and more dirt/compost to top the beds off. Plants were directly planted to the beds three days later (after threat of frost had passed). |
No comments:
Post a Comment